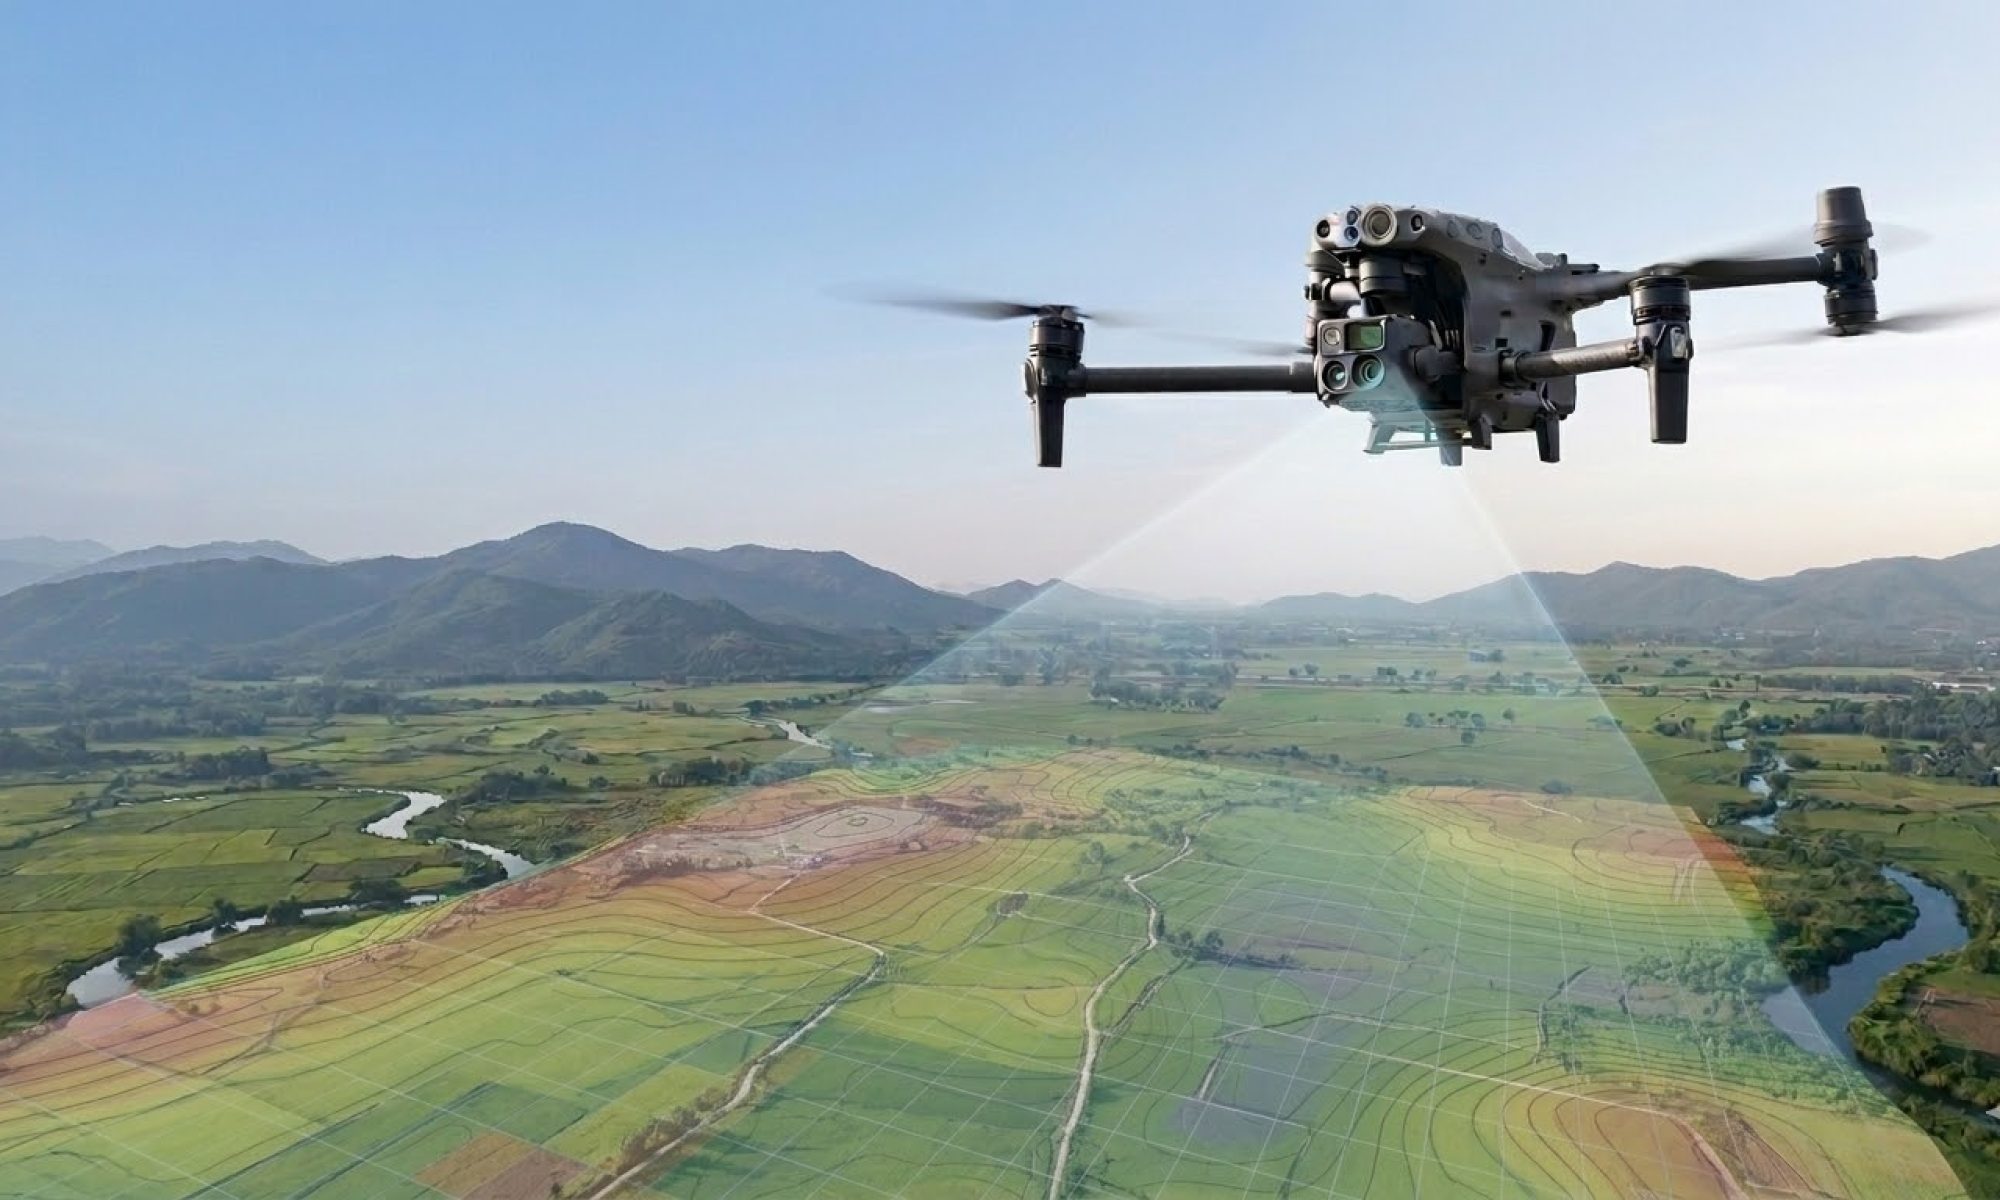
Creating a digital copy of a site seems simple: fly a drone and take photos. In practice, however, there is much more to it.
To create a terrain model that surveyors, site managers, and developers can truly rely on, an accurate and controlled process is required. At DroneView, we work with a professional mapping workflow where precision is key.
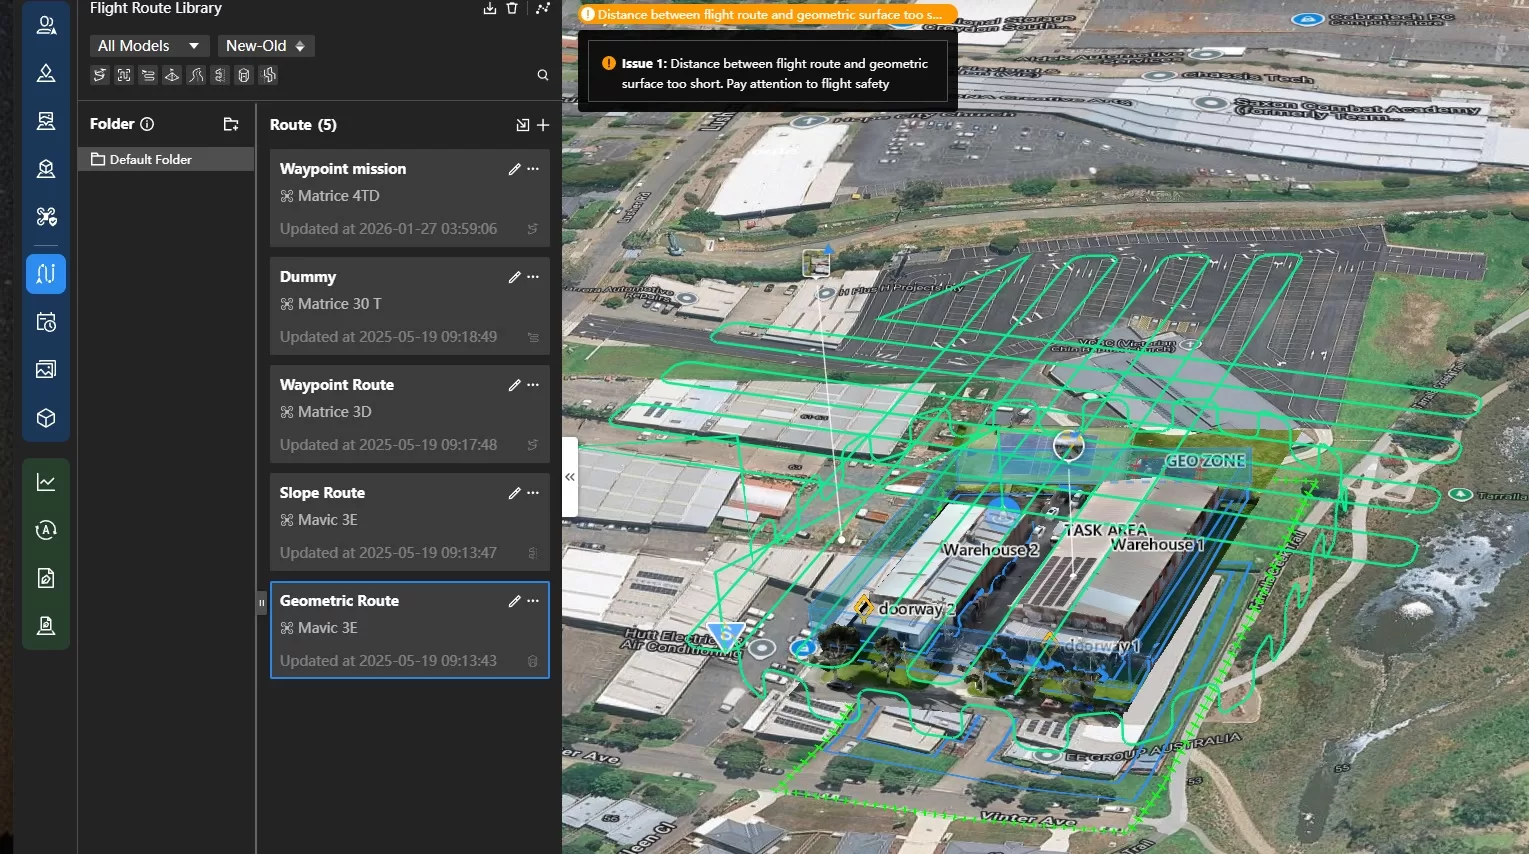
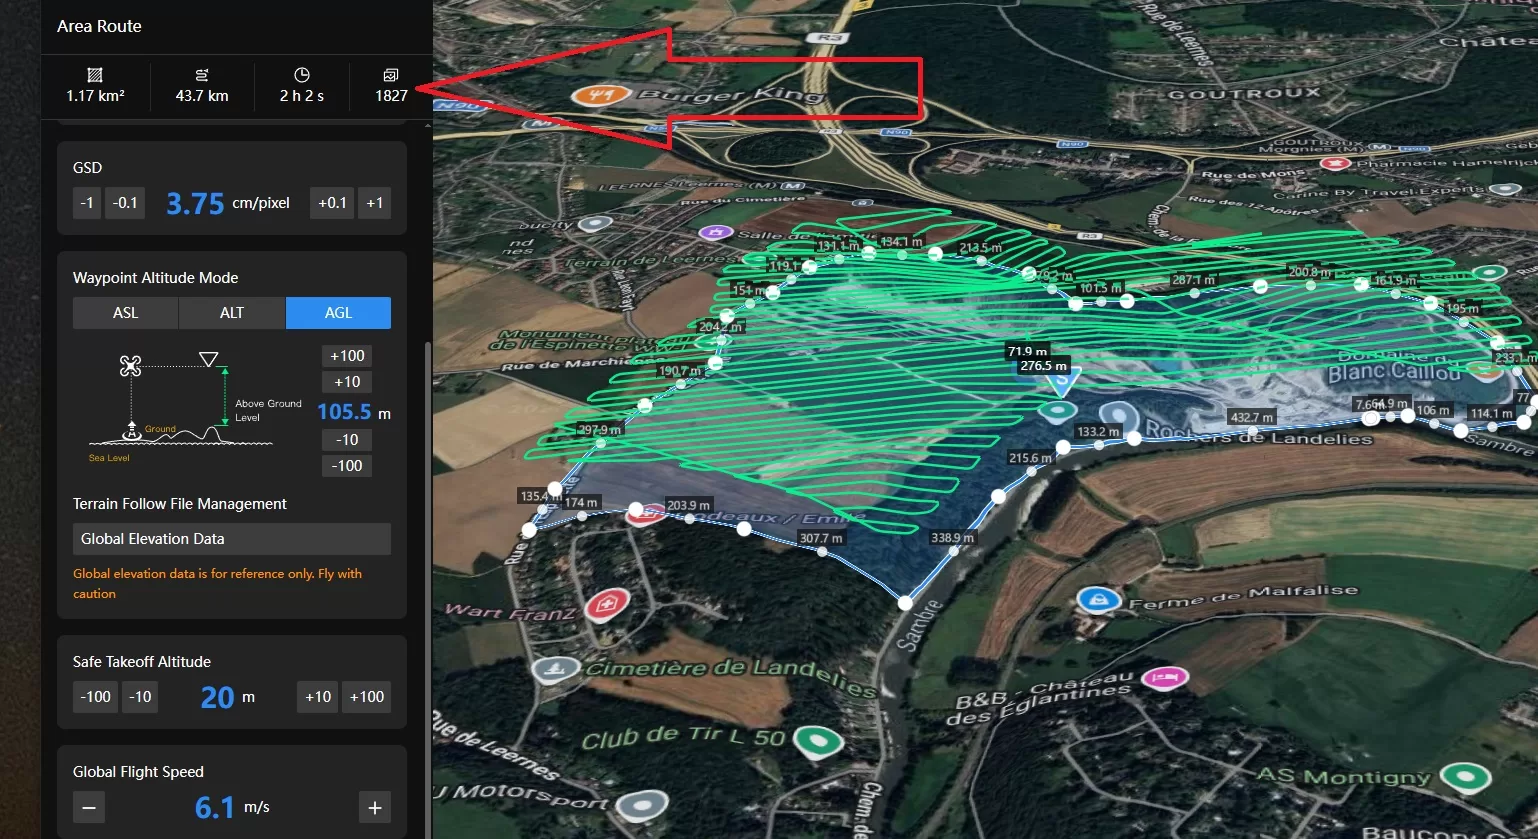
Step 1: Preparation and Mission Planning
Before heading to the site, the flight is digitally prepared. We analyze the airspace (especially in complex zones like Brussels) and program the optimal flight path. We determine the ideal overlap between photos to ensure a seamless 3D model later on.
Step 2: Placing Ground Control Points (GCPs)
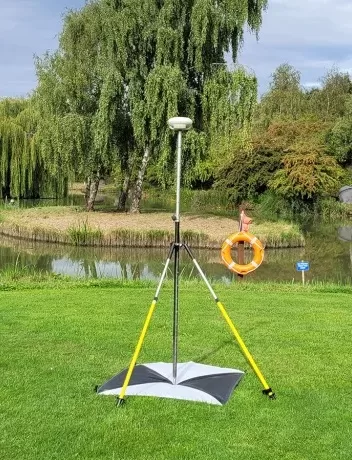
This is where true precision is born. Although our drones feature RTK (Real-Time Kinematic) technology, we place additional Ground Control Points at strategic locations.
What is a GCP? These are physical markers on the ground whose exact coordinates we record using our own RTK base station.
Why do we do this? Think of it as “pinning” the digital map to the real world. Although RTK drones offer high positioning accuracy, small deviations can occur due to satellite geometry, signal reflections, or terrain variations. GCPs serve as extra control points to fully anchor the model to real-world coordinates.
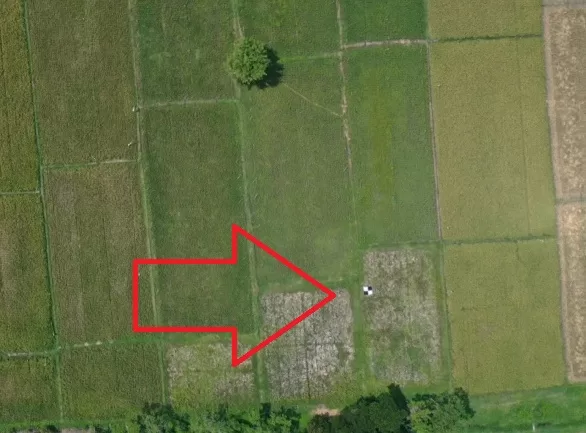
Visual Verification: The GCP in focus
In the aerial image above, you can see one of our Ground Control Points. This black-and-white checkered pattern is no coincidence; the high contrast allows our software to identify the exact center of the marker with pixel-perfect accuracy.
Step 3: Automated Flight
During the flight, the drone captures thousands of high-resolution photos. Thanks to the RTK link, each photo is instantly geo-tagged. With over 30 years of experience in earthworks and road construction, we understand exactly how a site operates. This allows us to organize our flights without ever disrupting ongoing site activities.
Step 4: Cloud Data Processing
Raw images are processed using photogrammetry software to create a point cloud. The GCPs placed in Step 2 are used to verify accuracy and calibrate the model to centimeter precision.
Step 5: Delivery and Analysis
You don’t just receive a stack of photos, but a ready-to-use Digital Twin. Via our online environment, you can directly:
- Calculate volumes of sand, gravel, or debris stocks.
- Measure distances and surface areas.
- Generate elevation profiles for drainage or leveling.
Want to see how drone mapping can help monitor your site?
View our interactive 3D demo or contact us for a test mapping of your project.